Adobe Illustrator is an excellent tool for graphic designing and modifying images. Converting a color image to black and white can enhance its visual impact and make it look more refined.
In this article, we will guide you on using Adobe Illustrator to transform a colored image into a stunning black-and-white masterpiece.
If you are facing a problem trying to recolor any vector in Illustrator, which automatically turns into grayscale color, find here Why Color Turns into Grayscale Color in Illustrator?
Select the image and go to Edit > Edit Colors > Convert to Grayscale in Illustrator to make a photo black and white. Alternatively, you can render the image black and white using the saturated tool to reduce the saturation to zero.
To make an image black and white using Adobe Illustrator, you can follow these steps:
That’s it! You should now see your image in black and white. With this technique, the image is directly converted to grayscale mode, thus removing its color information and turning it into a black-and-white image.
Here are following 3 ways to make an image black and white in Adobe Illustrator
The first method for converting an image to black and white in Illustrator is to select it using the Selection Tool and go to:
This is perhaps the quickest and most straightforward method for converting images to grayscale.
It should be noted that this technique is not limited to images alone; it also functions with vector objects.
Click ‘’V’’ to activate the selection tool. To select your image, click it, then choose “Embed”. Select “Edit,” “Edit Colors,” and then “Saturate…” The “Intensity” slider should be adjusted after selecting the preview box. Click “OK” for the final step.
There is a new option In Edit > Edit Color > Generative Recolor in Illustrator that you should try to recolor your artwork. Adobe Firefly’s Generative Recolor (Beta) feature allows easy vector artwork recoloring through simple prompts in Illustrator on a desktop.
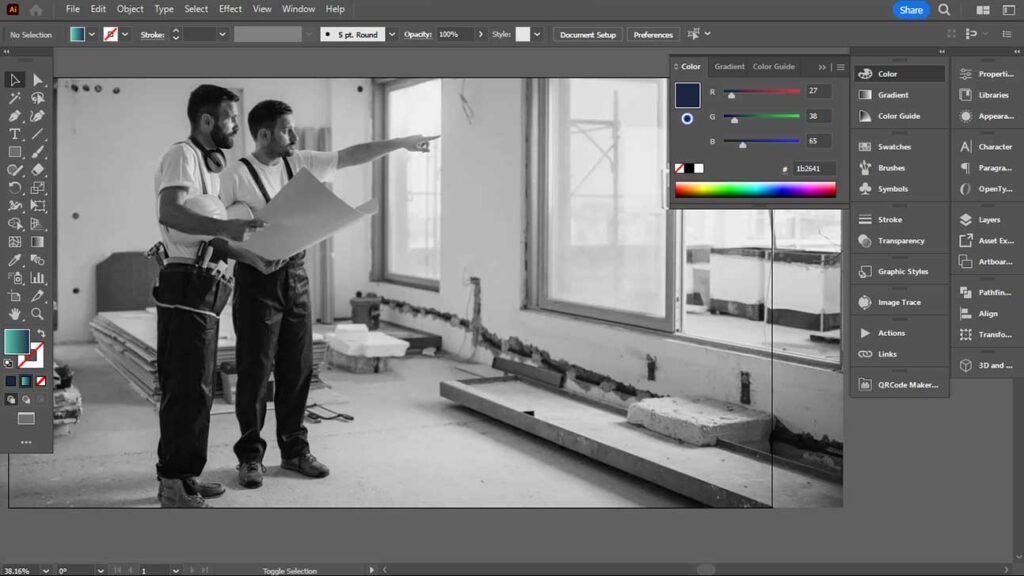
By selecting “File” > “Place,” you can import the image you want to convert to black and white into Adobe Illustrator.
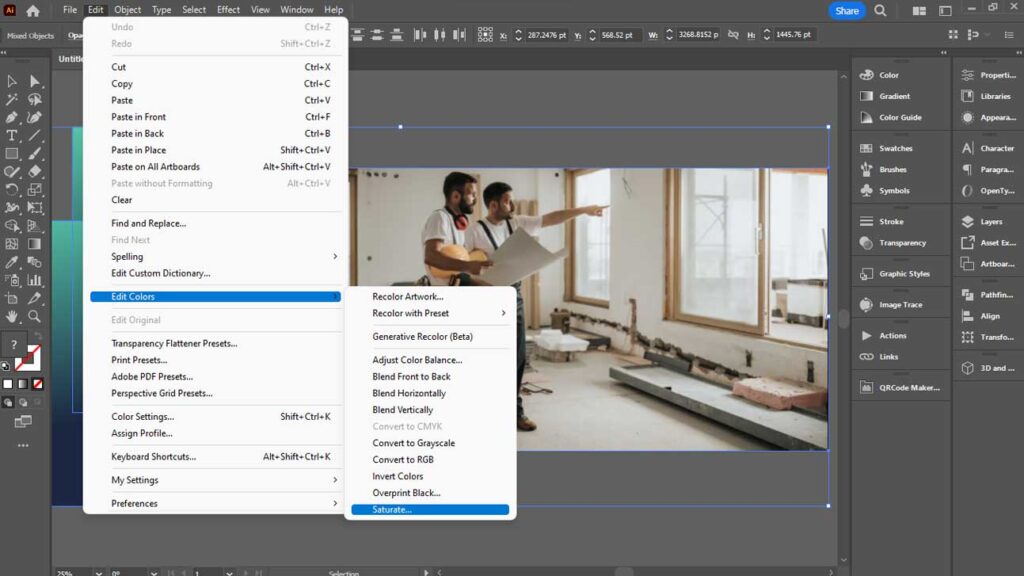
To select an image or vector artwork, locate and choose the Selection tool from the toolbar on the left side of your screen. Alternatively, you can use the “V” keyboard shortcut for quick access. This method works for both Image and Vector artwork selection.
Select “Edit,” then “Edit Colors” from the taskbar at the top of the screen, and then select “Saturate”.
Select the preview box.
To adjust the saturation of an image or vector artwork, use the Intensity slider in the “Saturate” option.
Moving the slider to the left will desaturate the image and turn it grayscale while moving it to the right will increase the intensity of the colors and make it more saturated.
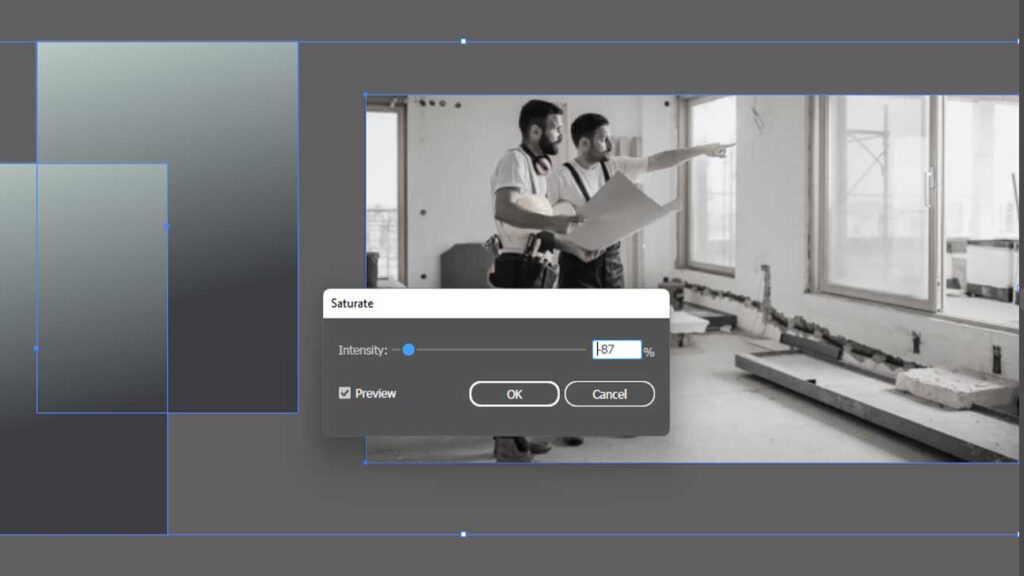
Select “OK” by clicking when the color saturation of your image meets your standards.
You have more control over this option’s level of black in your image than any other. This technique automatically transforms your image to monochrome and lets you customize the color tones.
Select “Edit Colors” from the drop-down list under the Edit menu on the main toolbar.
Click “Adjust Color Balance“.
Check the Preview and Convert boxes in the window that appears.
Then use the slider to change how much of your image is dark.
Click OK when you’re satisfied with the final result.
Use one of these approaches to change your image to black and white in Adobe Illustrator.
You can select the approach that best meets your requirements based on your preferences and the unique features of your image. Don’t forget to try various settings to get the desired black-and-white appearance.
Additionally, it’s essential to understand how color impacts your design. Remember these factors as you work on your project when you recolor your image or vector.
Related Articles