Learn to use star tool in illustrator and create awesome things
Star tool in Illustrator seems straightforward We could assume that this tool can only be used to create stars, but it is actually capable of creating amazing things in graphic design.
When you choose the star tool and drag, a star-shaped shape appears by default with five points like a star.
Press CTRL (for Windows) or CMD (for Mac) while clicking and dragging the mouse to change radius of the star, and keep dragging it until you’re done. While holding the left click up and down arrow keys will help to add to subtract the points in the stars.
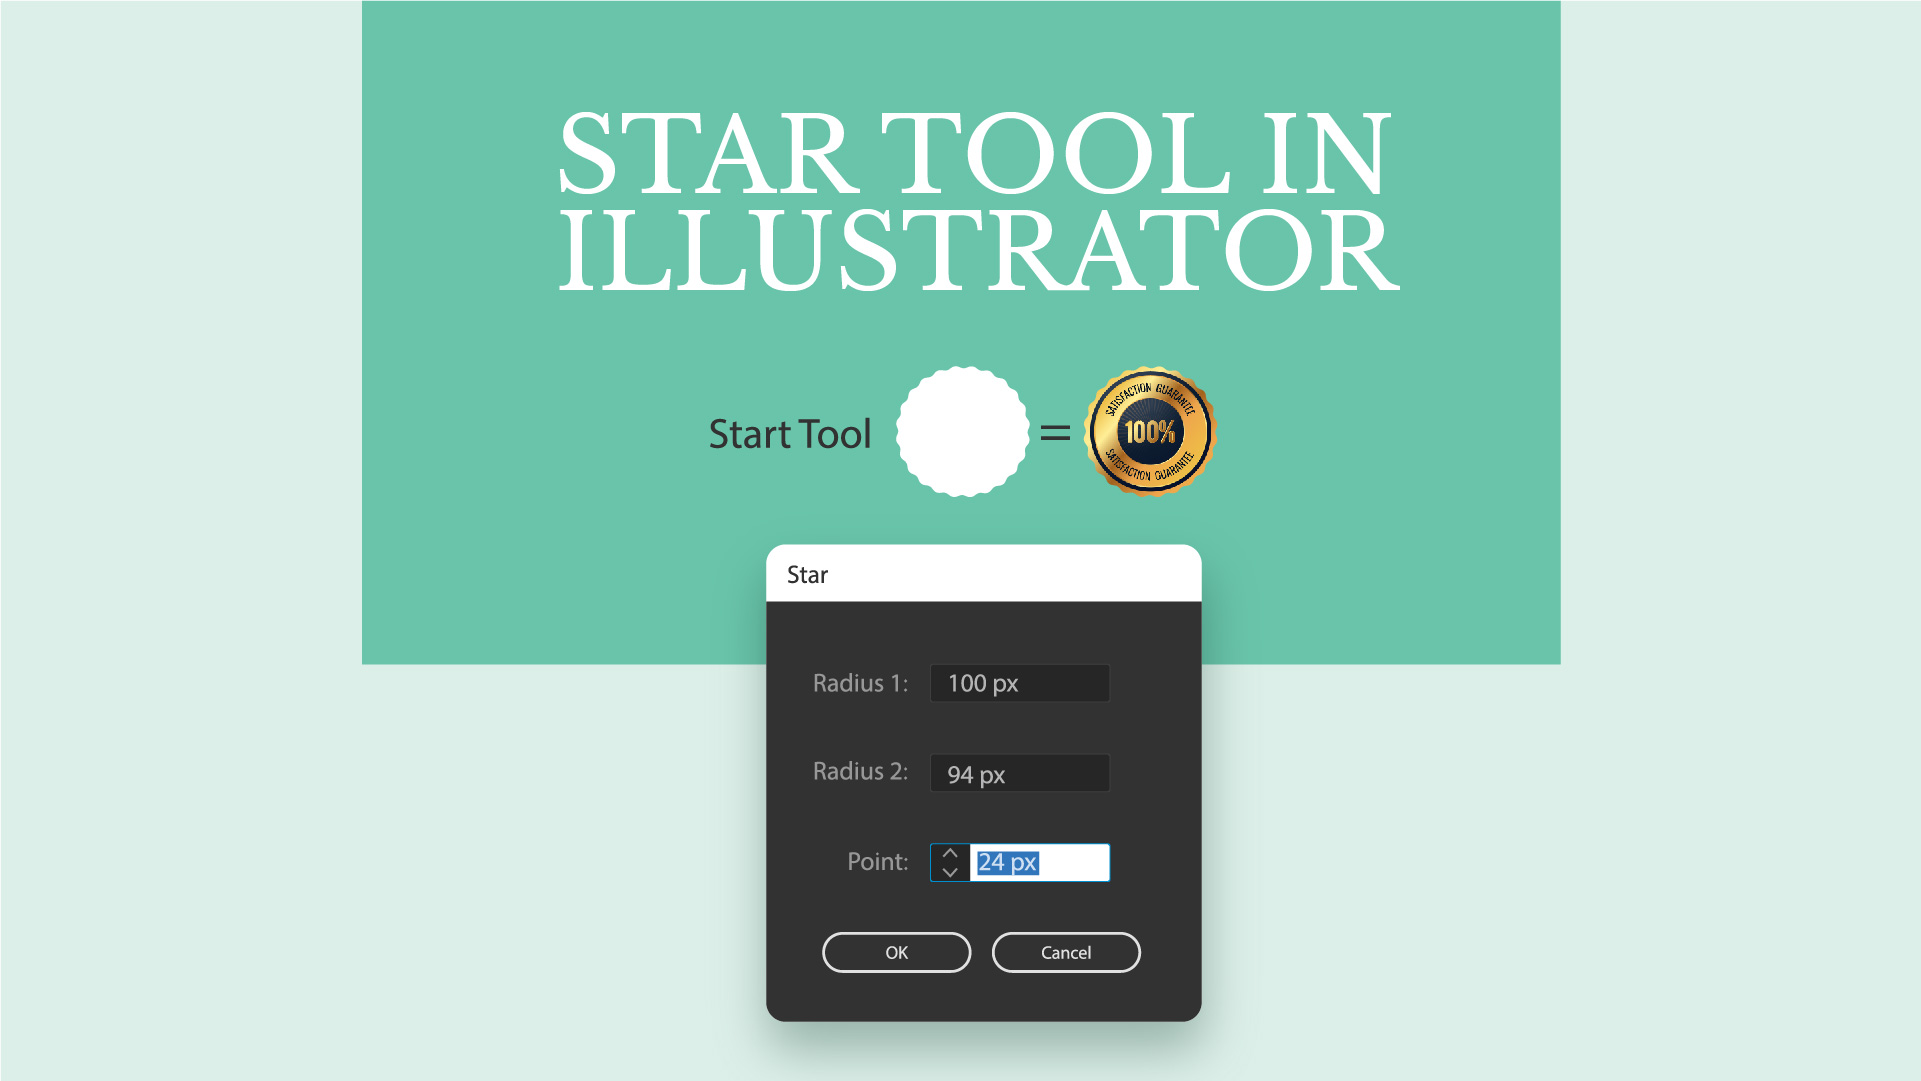
Another method of changing the radius of star is to select the star tool and click anywhere on the screen. This opens a window with three option for the star tool Radius 1, Radius 2 and Point. Let’s go over these options in more depth.
Radius 1 in star tool
You can use this option to increase the radius of outer points in the star. Each arm of the star gets thinner as you increases this setting.
Radius 2 in star tool
Use this option to increase the radius of inner points in the star.
Practice these two radius options for better understanding.
Point
The point option in the star tool allows you to add or subtract points from the star. You can make as many star arms as you want using this option.
Let’s create something using these options
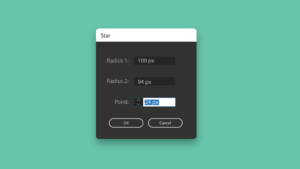
![]()
Use these values to make corner curved edges.
Radius 1 = 100, Radius 2 = 94, Point = 24 you can adjust point according to your requirements.
How to create Shine using star tool
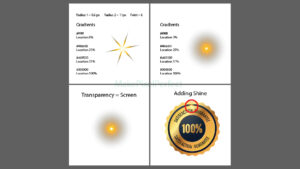
Select the star tool and click anywhere on the screen. Set the Radius 1 – 0.6px, Radius 2 – 11px, and point – 6 you can also adjust according to your requirement.