How to make icons quickly in Adobe Illustrator?
How to make icons quickly in Adobe Illustrator?
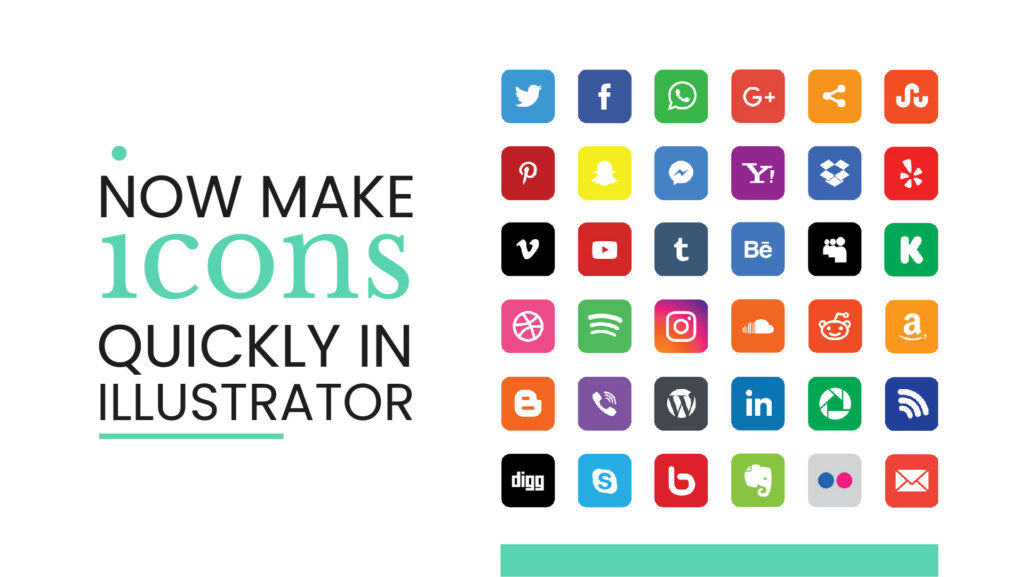
Icons are used to represent written text in most designs, and they are essential to creating good designs. Icons are representative symbols that can simplify a sentence, paraphrase, or word into a single, small symbol.
Rectangular, Ellipse, polygon, line segment, star, Shape builder, Pen tool, Path Finder, and Image Trace are the tools that you can use to create attractive icons for your design in Illustrator.
Except for the Image Trace tool, these tools will help you customize and edit your icon manually. You can convert raster images to vector images using this tool. The Image Trace tool is helpful when there is a raster, non-complex image.
Let’s find out how Image Trace will help you create Icons and other vector artwork in just a few seconds.
Open the Image Trace Tool Window
To open this tool, click Image Trace on the Windows menu bar.
- Windows > Image Trace
Select the image you want to convert into a vector; now, every option in the panel is available for you.
Understand the Presets menu and Icons
First, understand the icons on the top of the panel. You can also find the same options in the preset menu.
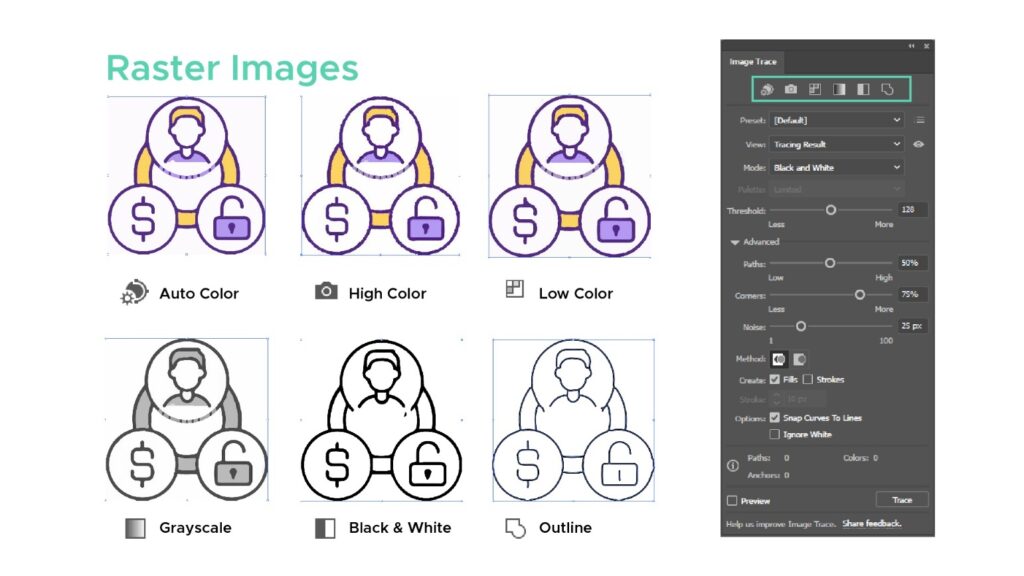
Use these settings to transform raster icons into vectors automatically. Under Advanced Option, I like using advanced settings for better results. Adjust the advanced setting’s path, corner, and noise to achieve the best results.
By default, Image Trace will set an image or icon’s background to white, but you may change this by checking the box beside the Ignore White Option. This will give a transparent result from the input image or icon.
Auto Color
It uses the same colors and transforms a picture or icon into a posterized image.
This will produce a colored image as a result.
High Color
High Color generates High-fidelity photorealistic artwork. It uses a wide range of colors from the selected piece of art.
Low Color
Low Color Preset Creates simplified, realistic artwork. It uses a low range of colors from the selected image or photograph.
Grayscale
As defined by the name, it generates a grayscale image from the selected image or photograph. Grayscale presets perform significantly better than colored presets when you need the exact vector from the chosen icon or image.
Black and White
Black and White Preset in the Image Trace tool generates a Black and White Image from the selected image. For precise vectorization, this preset is also very helpful as the grayscale. Making Adjustments to path, corner, and noise will generate a perfect and exact output of the icon.
Outline
Outline Preset generates an Outline stroke from the selected image. This implies that if you choose a raster image icon, this preset will turn it into an outline or stroke that you can scale up or down to meet your needs.
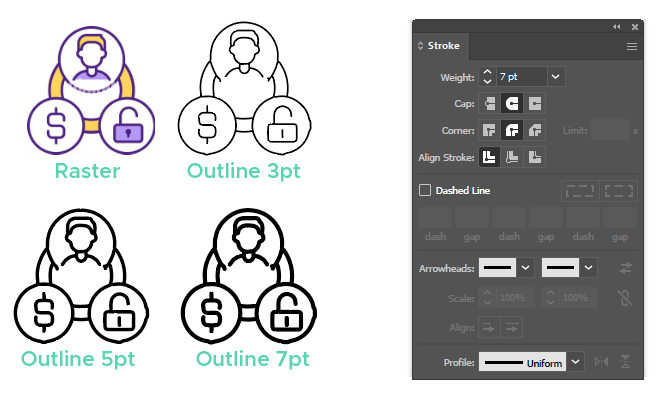
Final Process

Expand the artwork in the control bar once you’re done making adjustments.
Click and hold the Eye Icon in the Image Trace Panel next to the view menu to see a before-and-after comparison.
-
Generate Vector Graphics from a Detailed Text Description in Illustrator
Generate Vector Graphics from a Detailed Text Description in Illustrator in 2024 The Text to Vector Graphic Generate (beta) function…
-
Best Adobe Illustrator Plug-in for Selections
Adobe Illustrator is a powerful tool for graphic designers and artistic professionals. It offers countless plugins that take your illustration…
-
Identify fonts from images using Retype (beta) in Illustrator
Identify fonts from images using Retype (beta) in Illustrator in 2024 Find font from images option is now available in…
