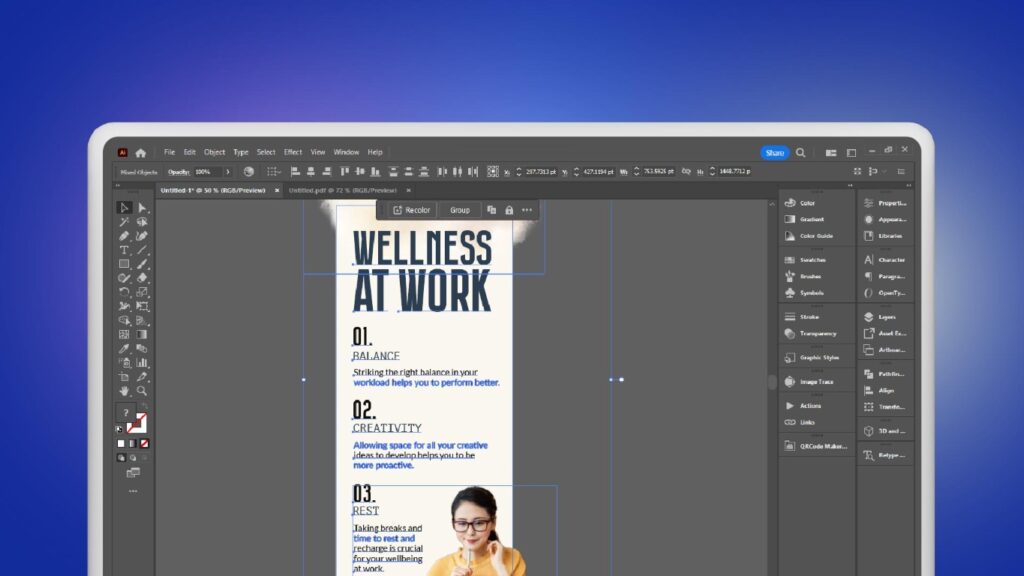
How to Release all Clipping Masks at Once in Adobe Illustrator?

Release all Clipping Masks at Once in Adobe Illustrator
Stuck with tons of clipping masks in Illustrator? Here you have the solution. You may be at a point where you are exhausted from repeatedly releasing the clipping mask to separate objects in Illustrator.

This issue often arises when working with imported PDF files, and when you open PDF files in Illustrator, it turns into editable; you discover that nearly every element within the PDF, be it text, shapes, images, or any other object, is entangled within so many clipping masks.
This convoluted mess of clipping masks can quickly become a nightmare, making even the simplest editing tasks feel arduous and time-consuming.
What is a Clipping Mask?

A clipping mask is a graphics technique used in vector-based design software like Adobe Illustrator. It allows you to control the visibility of one or more objects using another object as a mask.
In simpler terms, a clipping mask clips or crops the artwork within the boundaries of a selected shape, revealing only the parts of objects that lie within that shape.
Here is how to release clipping masks all at once
There are two methods you can follow to release clipping masks.
- Using the Shortcut
- Select Menu Option
Releasing multiple clipping masks in Adobe Illustrator can be a lifesaver when dealing with a complex project. Here are two detailed methods to release all clipping masks at once:
Method 1: Using Keyboard Shortcuts
If you need to release all the clipping masks in your Illustrator document quickly, you can do it with keyboard shortcuts. Follow these steps:
- Select the objects: Select all objects within clipping masks on the artboard.
- Apply the shortcut (Mac): Using a Mac, use the CMD (Command) + Option + 7 keyboard shortcut. This tool will release all the clipping masks at once. Keep pressing it until all the clipping masks have been released.
- Apply the shortcut (Windows): For Windows users, repeatedly use the CTRL + Alt + 7 keyboard shortcut until all the clipping masks have been released. This action eliminates the need to release each clipping mask by right-clicking manually.
Method 2: Using the Select Menu Option
The second method provides an alternative approach to release all clipping masks simultaneously. It’s beneficial if you prefer menu-based actions. Here’s how to do it:
- Select Clipped Objects: Start by selecting all the objects in your Illustrator document that are clipped or enclosed within clipping masks.
- Access the Menu Bar: Navigate to the menu bar at the top of your Illustrator window. Choose “Select” > “Objects” > “Clipping Mask”. This action will highlight all the clipping masks in your selection.
- Delete or Apply Shortcut: You have two options with the selected clipping masks. To remove selected clipping masks, press “Delete” or use the shortcut CMD + Option + 7 (Mac) or CTRL + Alt + 7 (Windows).
These methods efficiently tackle the frustration of multiple clipping masks in Adobe Illustrator, allowing you to streamline your workflow and focus on your creative process without the hassle of manual releases.
How to Create a Clipping Mask
Select the Clipping Object: Choose the object that will serve as the clipping mask. This can be a shape, text, or any other vector element.
Arrange Layers: Ensure the clipping object is behind the objects you want to clip.
Create the Clipping Mask: In Adobe Illustrator, you can create a clipping mask using the “Object” menu or by right-clicking and selecting “Make Clipping Mask.” Or press both objects, the one behind you want to clip and the one you want to clip into it, then press CTRL + 7 or CMD + 7.