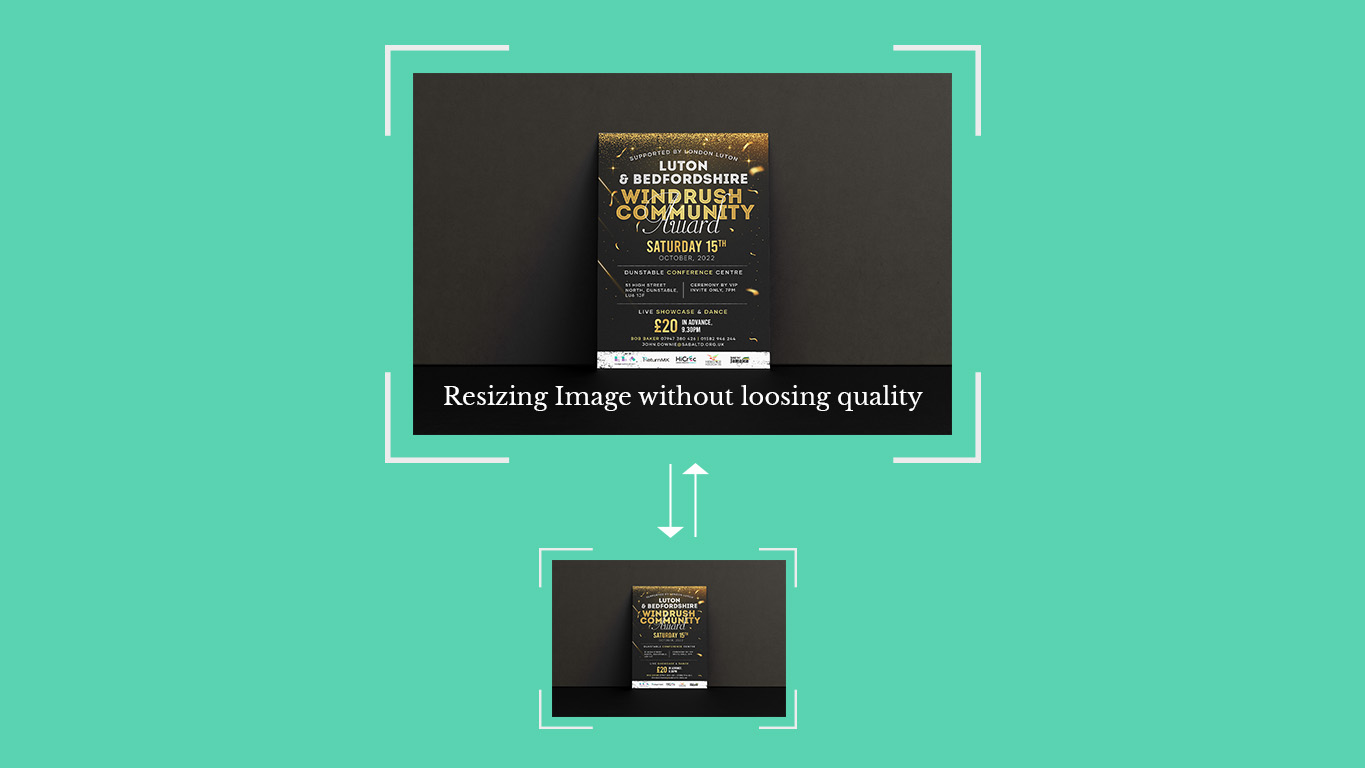
Resize Image without losing quality in Photoshop
Working on Photoshop, you might face the problem of losing your image’s quality. You might meet with this issue while resizing your images. Keep connected to expand your expertise.
Smart Object
By default, Photoshop Imports images as a smart object. What is Smart Object in photoshop? Layers with picture data from raster or vector images, such as those in Photoshop or Illustrator artwork that you can copy and paste into photoshop, are called “Smart Objects.” Smart Objects preserve the original qualities of an image’s source content, allowing you to change the layer without causing any destruction to the original source image.

How to Preserve the quality of your image while resizing?
With Smart Object, you can make nondestructive changes in Photoshop Layer. The actual image data is unchanged by the transformations, so you can scale, rotate, skew, distort, perspective transform, or warp a layer without losing quality or detail. Additionally, you can non-destructively apply filters to Smart Objects and change them whenever you want. However, it’s impossible to readjust filters applied on a raster image or layer.
How do you lose the quality of your image in photoshop?
When you are using a raster layer in Photoshop and resizing it ta o smaller size then, you can lose the quality; this method of image resizing is destructive, therefore be sure to turn your image into a smart object by right-clicking the layer and selecting Convert to Smart Object, or might have Resampling option checked by default in Image Size Panel. To uncheck the Resampling option, go to Image > Image Size. Uncheck the Resampling option. Shortcut for Image Size Panel in photoshop is Ctrl + Alt + i. This way, your image will be prevented from losing its details and sharpness.
Don’t forget to compare the (before and after) difference. When you uncheck, the Resampling option decreases the half size of the image and then again resets the size and sees the output. While resizing your photographs, that might not be a problem if you’re using Affinity Photo.
Resampling in Photoshop
![]()
Resampling is the process of altering an image’s pixel dimensions. Image quality can suffer from resampling. Resampling can result in lower image quality. When you downscale an image or reduce its size, some information encoded in its pixels may be lost. Upscaling generates new pixels into the image; It increases the number of pixels in your image.
An image can lose some detail and sharpness as you resize it to a greater pixel dimension (The Dimensions are the total amount of pixels along an image’s width and height).
Resampling In Photoshop is also known as the Interpolation Algorithm. There are multiple options available in Resampling. By default, Automatic is selected.
![]()
Automatic Option
It automatically detects whether the Image is upscaling or downscaling, then adjusts pixels accordingly.
Preserve Details (enlargement)
Upscaling an image adds additional artificial intelligence (AI) data to the image. The image may appear noisier after upsampling. To reduce the noise while upsampling your image, use Preserve details. This enables a slider this allows you to reduce noise from your image.
Preserve Details 2.0
An advanced version of Upscaling Preserve Details. The deep Interpolation Algorithm is used for adding additional pixels to the image. The more precise method of upscaling.
Bicubic Smoother (enlargement)
Using Bi-Cubic Interpolation produces smoother results in enlarging Images. You can use this resampling option to smoothen your images.
Bicubic Sharper (reduction)
The detail in a resampled image is preserved with this Interpolation technique. Try using Bicubic if Bicubic Sharper over sharpens any portions of an image.
Bicubic (Smoother Gradient)
It is based on looking at the values of nearby pixels. By using more complicated algorithms, bicubic generates smoother tonal gradations than Nearest Neighbor or Bilinear.
Nearest Neighbor (hard edges)
Simple technique as compared to other resampling options for recreating an image’s pixels. In illustrations with edges that are not anti-aliased, this technique keeps hard edges and creates a smaller file. However, using several manipulations on selecting or scaling an image will result in jagged effects.
Bilinear
It targets fewer surrounding pixels than the bicubic Interpolation Algorithm. Bilinear technique for adding pixels by averaging the color values of the pixels around it. Results are of lesser quality.