How to Create and Export GIFs in Figma using a Plugin
How to Create and Export GIFs in Figma using a Plugin
Introduction
Using plugins to create and export GIFs in Figma is a helpful ability for designers and developers wishing to add animated components to their ideas or prototypes. GIFs are useful for conveying motion, interactions, or animations in a visually appealing and shareable way.
This article will lead you to go through the processes of producing and exporting GIFs in Figma using a plugin.
What are GIFs?
GIF is an abbreviation for Graphics Interchange Format. It is an animated image format, commonly used for short, looping animations that represent emotions, reactions, or information in a visually appealing way.
How to create and Export GIFs in Figma using Motion Plugin?
Install motion plugin
- Navigate to the Figma community Plugins Page.
- Search ‘’Motion’’ on the dashboard and select ‘’install’’ to add the plugin to your Figma workspace.
if you don’t know how to use and install plugins in Figma here is the solution for you.
Create a Figma File
To begin developing your animation, open Figma and create a new project or open an existing one. Make sure your design elements and frames are well organized for animation. Once you have installed the Motion plugin, it’s time to design the animation using Motion Plugin.
Select the Elements
Select the elements which you want to use to animate. Icons, images, texts, layers, or any other design element.
Select Frames
Duplicate frames to create keyframes for your animation. You can do this by right-clicking on a frame and selecting “Duplicate.”
Design each Frame
Make the necessary changes in each frame to generate the animation sequence. Elements can be moved, resized, or modified as needed.
Export GIF
Select Frame
Click on the frames of your animation.
Open the Motion Plugin
Go to the plugins menu and select the object option called export gif.
Export your GIF
Click the “Export” button in the Motion Plugin panel to create and download your GIF.
Set a rotation point in GIF using the Motion plugin
- Double-click on any keyframe brings up the keyframe panel, where you may specify a rotation point, a value, and an easing function.
- Make a frame with a rectangle inside it. For the time being, sizes and colors are irrelevant. Place the rectangle closer to the left corner of the frame to allow for movement on the right.
- Now go to Motion, select the X property, and click the Add keyframe button.
- Move your rectangle to the right, then go to Motion and click the Add keyframe option again. That’s all.
- At the end, click on the play button to see your animation.
You can animate all of the properties you see using these techniques. Change the desired Y, Width, Height, Corner radius, Rotation, Opacity, and Fill settings.
How to Create and Export GIFs using an Animated GIF maker?
Animated Gif Maker for Figma is a plugin for creating and exporting animated gifs from your Figma designs. It can bring movement and interactivity to prototypes, presentations, and social media posts. You can use this tool to:
- Make an animated gif from any layer or group in your Figma project.
- Change the animation’s speed, duration, loop count, and quality.
- In real-time, preview your animation and export it as a GIF file
Animated Gif Maker for Figma is a simple and powerful tool for animating your ideas.
Create and Export GIFs using the Figma plugin
- Head over to the ‘’community’’ dashboard in Figma.
- Click on Plugins and search for ‘’TinnyImage Compressor.”
- Press the blue install button and head back to your Figma file.
- Create all the frames you want to use in your GIF.
- When you get them, select all of them and press the icon next to export to make them exportable.
- Hold down Command or CTRL and press P to open your ‘’quick options’’ tab.
- Start typing the name of the plugin you just installed, ‘’TinnyImage Compressor’’, and then hit enter.
- Turn the quality up to 100% and press ‘’Create GIF”.
- You can choose the order of the frames by sorting them on this tab.
- Select how long you want each layer to show, or choose an equal amount of all layers by dragging the delay timer.
- When you are satisfied with your GIF, click the “Export GIF’’ button.
- Choose the file to save it, and you are done.
How do I use GIF Plugins in Figma?
You can use animated GIFs as fills on layers. This implies that you can use them on any vector shape, including text layers. There are several ways to use GIFs in your designs:
- Drag and drop GIFs onto the canvas.
- Import files using the file browser
- Place pictures to add photos to objects in bulk.
- Upload an image as a fill.
- Image as fills can be copied and pasted between layers.
Making Use of GIFs to Promote Your Brand
GIFs are an excellent approach to advertise your company and engage your audience on social media. Here are some suggestions for using GIFs to market your business:
- Make GIFs that are relevant to your brand and target audience.
- GIFs can be used to demonstrate your products or services.
- GIFs can be used to explain difficult topics or ideas.
- Make interesting and engaging content with GIFs your audience will want to share.
-
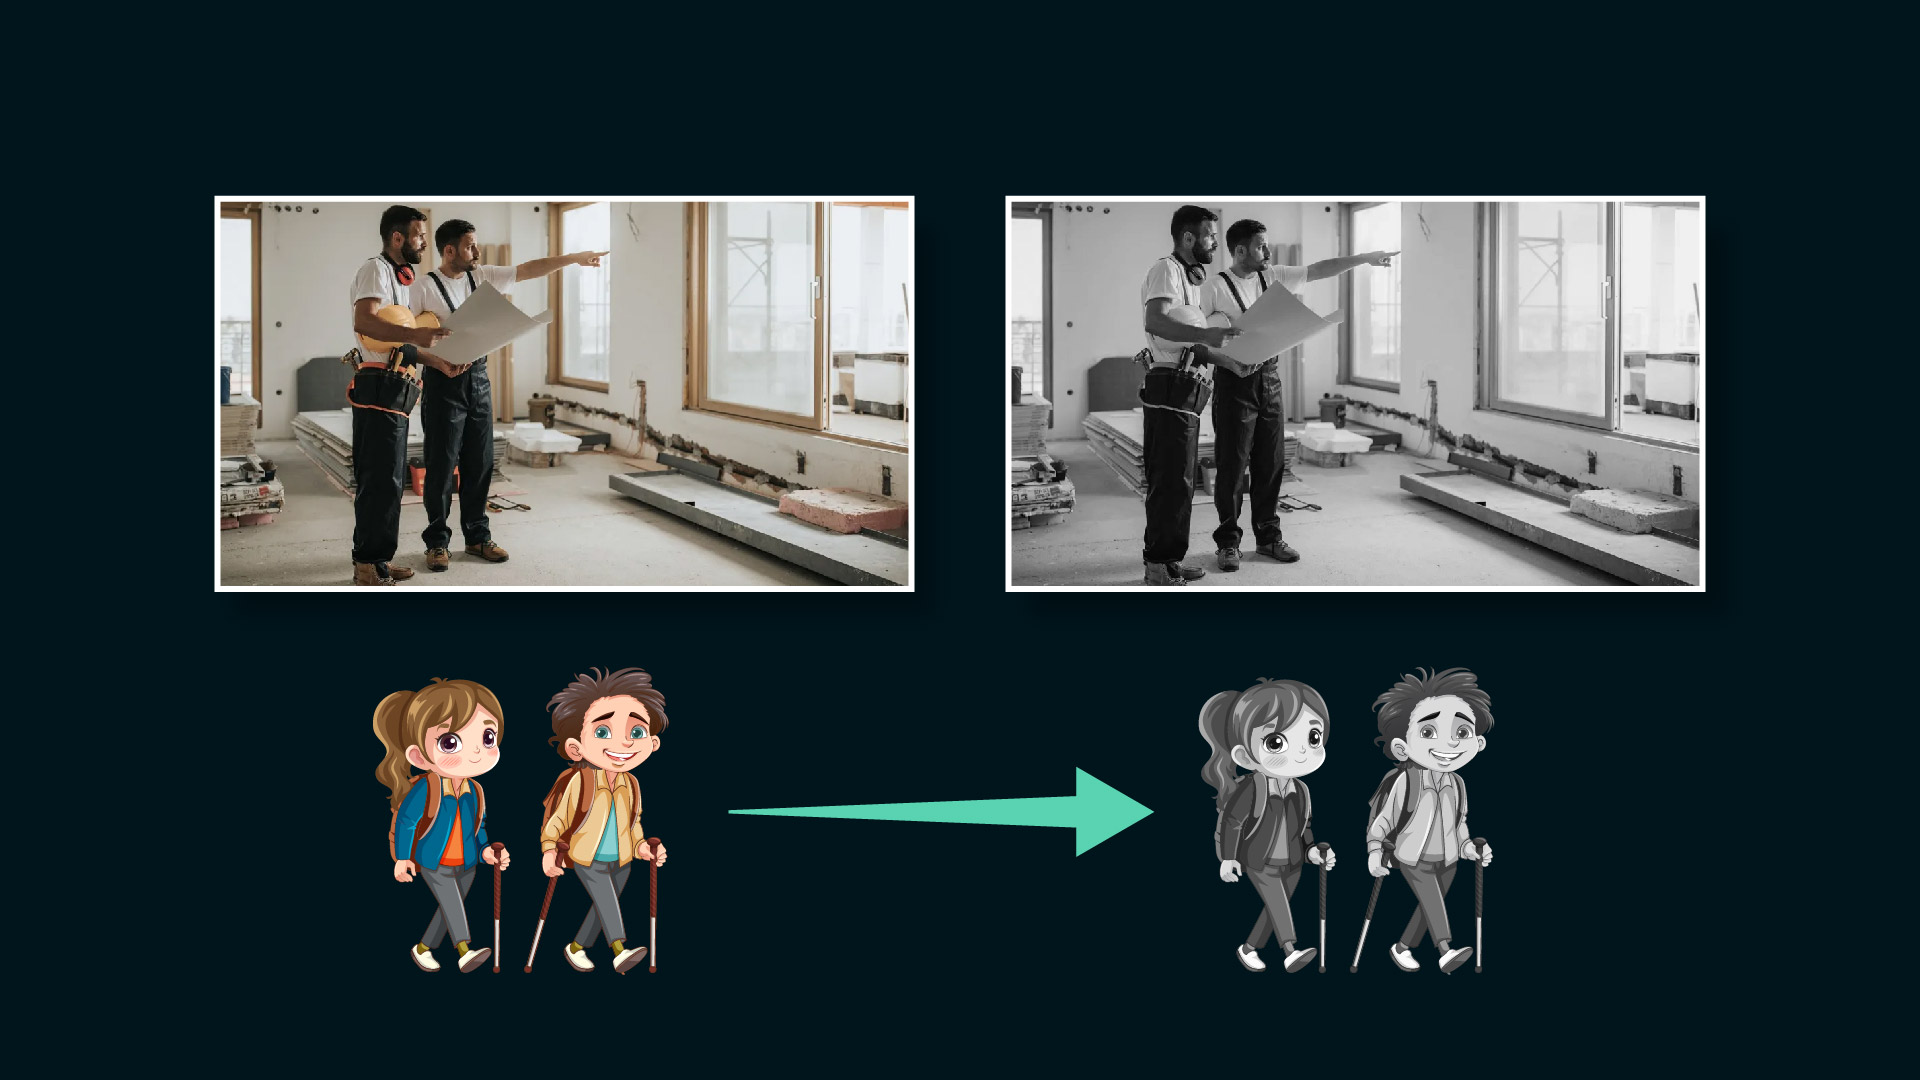
How to convert an image or vector into black and white with Illustrator
How to convert an image or vector into black and white with Illustrator in 2024 Introduction Adobe Illustrator is an excellent tool…
-
Figma Review 2025 – Is it Worth Buying
Are you curious about presenting your design ideas in a better way? What tool should you use to design your applications? Can…
-

How AI is changing the way we design
How AI is changing the way we design Artificial intelligence has been a game-changer in several fields, and design is no exception.…
-
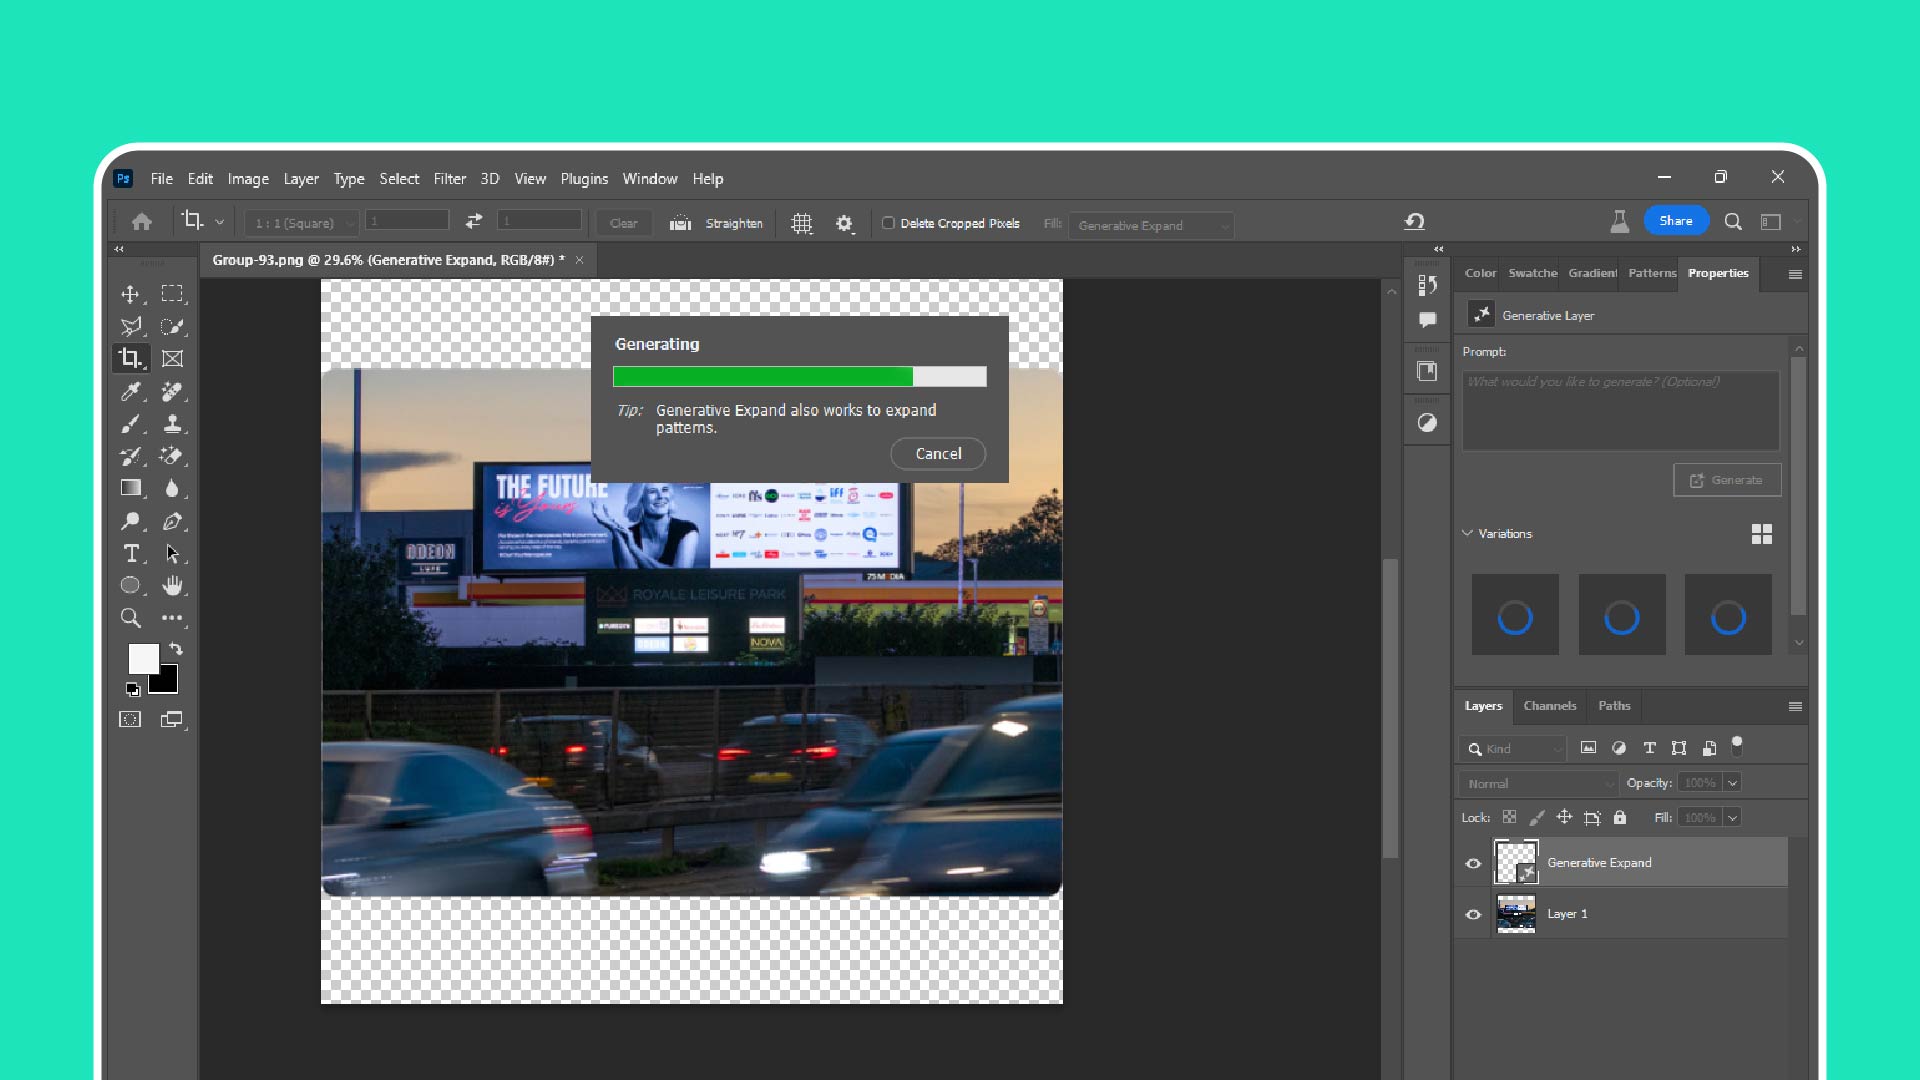
Generative Fill is Now Available for Commercial Use
Generative fill is now available in Adobe Photoshop v 25.0 – No (Beta) Required We are thrilled to announce that as of…
-
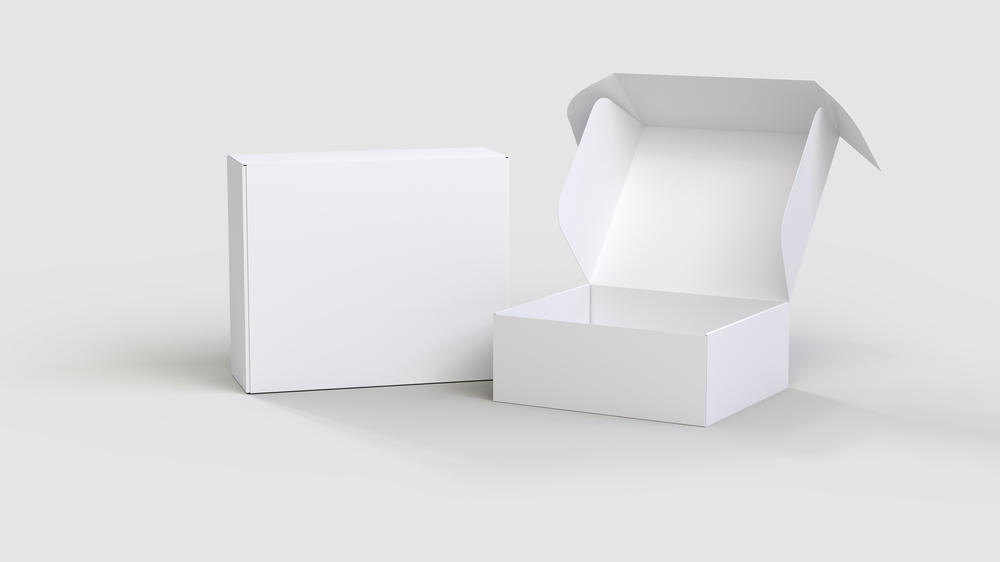
Best 3D Mockup builder sites for content creators
Best 3D Mockup builder sites for content creators What is a Mockup? A mockup refers to a life-size model that replicates the…